Step by Step Solar Panel Installation Process
Solar panels generate electricity by converting sunlight into energy. Panels are usually installed on rooftops so they can receive maximum sunlight throughout the day.
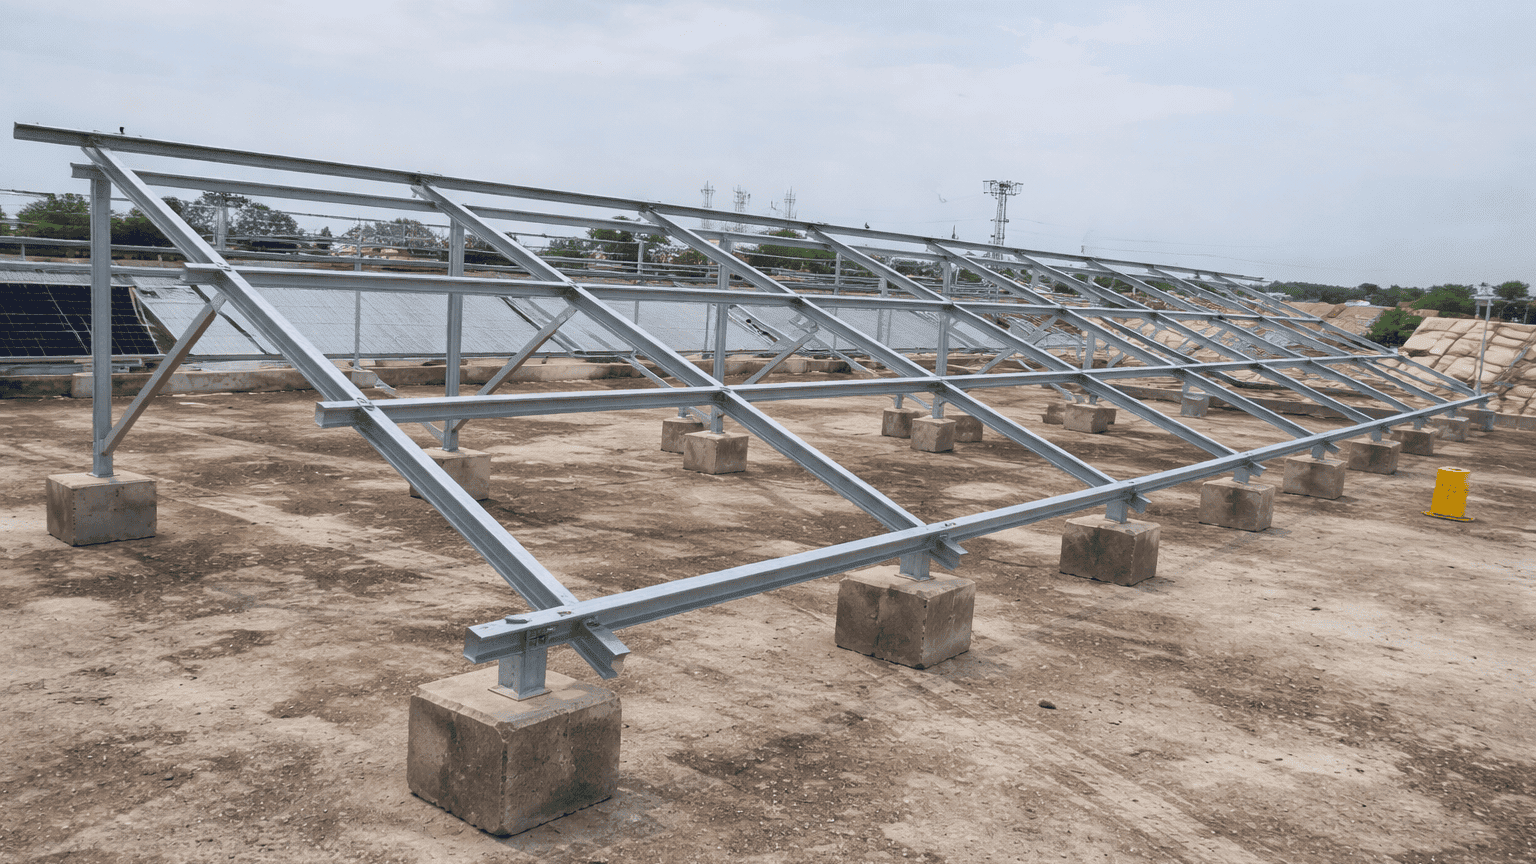
Step 1 : Install the mounting structure
The first step is installing the mounting brackets. These may be roof mounted or ground mounted depending on your application. The structure provides support and stability to the panels.
Panel orientation is very important. In the Northern Hemisphere, solar panels should face south for maximum sunlight. East and west facing installations also work but are slightly less efficient. The tilt angle generally ranges between 18 and 36 degrees. Some systems use solar trackers to improve efficiency.
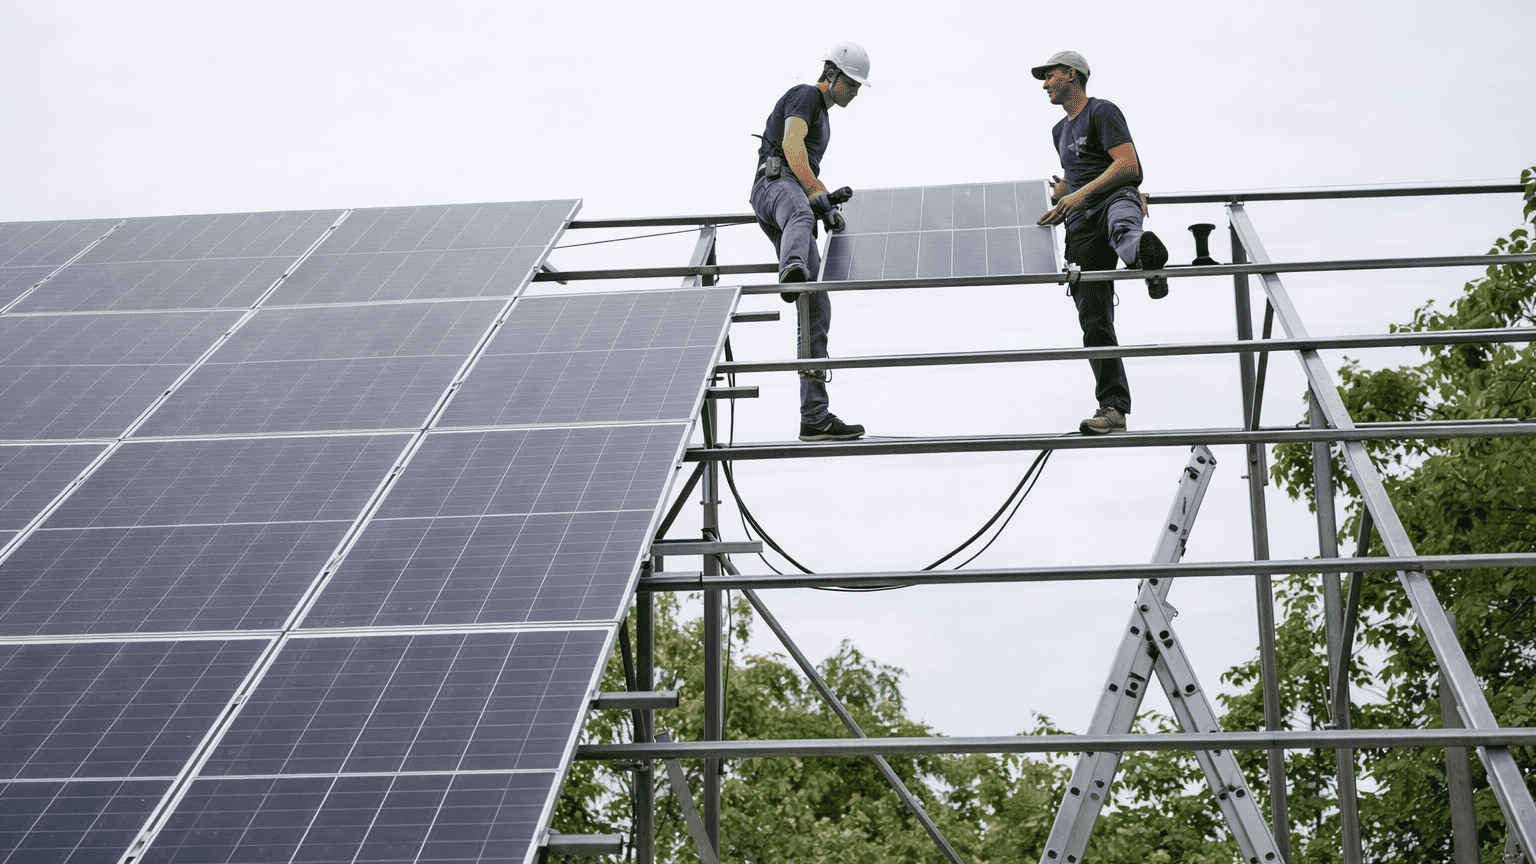
Step 2 : Fix the solar panels
Once the mounting structure is ready, place the solar panels on it and tighten them using nuts and bolts. Make sure the panels are firmly secured so they can withstand wind and weather conditions.
Step 3 : Do the electrical wiring
Electrical wiring connects the solar panels to the rest of the system. MC4 connectors are commonly used because they are compatible with most panels.
There are two types of connections:
Series connection
The positive terminal of one panel is connected to the negative terminal of another. This increases the system voltage and helps match inverter or battery requirements.
Parallel connection
Positive terminals are connected together and negative terminals are connected together. This keeps the voltage constant while increasing current.
Step 4 : Connect the solar inverter
Next, connect the solar inverter to the system. The positive wire from the panel goes to the positive terminal of the inverter, and the negative wire goes to the negative terminal.
The inverter converts DC power from the panels into AC power for home or industrial use.
Step 5 : Connect the solar battery
Now connect the inverter to the solar battery. The positive battery terminal connects to the inverter positive terminal, and the negative terminal connects to the inverter negative terminal.
Batteries are essential for off grid systems because they store electricity for use during power cuts or at night.
Step 6 : Connect the inverter to the grid
For grid connected systems, link the inverter to the main power grid using a standard AC connection. This allows excess power to be sent to the grid and enables net metering where applicable.
Step 7 : Turn on the system
After all connections are complete, turn on the inverter from the main switch. Most inverters have a digital display that shows power generation, voltage, and energy usage.
Your solar system is now ready. You can enjoy clean and renewable energy for many years.
Common Mistakes to Avoid During Solar Installation
Many users make simple mistakes that reduce system efficiency. Avoiding them can save money and improve performance.
Buying an overpriced system
Always compare different solar panels and components. Prices vary based on technology and brand, so choose a system that fits your energy needs and budget.
Not preparing a component checklist
A complete solar system includes panels, inverter, charge controller, batteries, mounting structure, and cables. Preparing a checklist ensures nothing is missed during installation.
Incorrect system sizing
Calculate the total wattage of appliances you plan to run. Consider daily usage hours and future expansion. Proper sizing helps in selecting the right battery capacity, inverter rating, and cable thickness. Correct wire size is important to prevent overheating and power loss.
Solar Power Cost in India per kW and Subsidy Guide
Solar energy has become a popular way for homes and businesses in India to cut electricity bills while helping the environment. The cost of installing solar panels depends on the system size, location, and whether you’re using batteries or just grid-connected panels. Government subsidies also make solar more affordable. Here’s how it works.
How Much Does Solar Cost per Kilowatt in India
The price of solar power is usually measured in terms of cost per watt or cost per kilowatt (kW). A kilowatt is 1,000 watts of solar capacity.
In 2026, the typical price for a rooftop solar system in India ranges roughly:
- Around ₹38 to ₹65 per watt (₹38,000 to ₹65,000 per kW) before subsidies for a grid-connected home setup.
- In real money, a small 1 kW rooftop system might cost ₹75,000 to ₹1.3 lakh before any subsidies, depending on panel quality, installer and location.
- Larger systems cost more overall, but the price per kilowatt can be slightly lower for 3 kW or 5 kW systems due to economies of scale.
These ballpark numbers include panels, inverter, wiring and basic installation.
Average Solar Cost per kW in India
The cost of a solar system mainly depends on system size, panel quality, inverter type, and installation location. Prices are usually lower for larger systems.
Grid Connected Rooftop Solar Cost
| Solar System Size | Approx Cost Before Subsidy |
|---|---|
| 1 kW | ₹60,000 to ₹75,000 |
| 2 kW | ₹1.20 to ₹1.40 lakh |
| 3 kW | ₹1.80 to ₹2.10 lakh |
| 5 kW | ₹3.00 to ₹3.50 lakh |
| 10 kW | ₹6.00 to ₹7.00 lakh |
These prices usually include solar panels, inverter, mounting structure, wiring, and installation.
What Government Subsidies Are Available
The Indian government offers direct subsidies to help lower the upfront cost of solar systems, especially for homes that connect their panels to the main power grid (net metering). The main subsidy program is known as the PM Surya Ghar: Muft Bijli Yojana under the national rooftop solar initiative.
Under this scheme:
- For the first 2 kW of solar capacity, you can get about ₹30,000 per kW in subsidy.
- For capacity from 2 kW to 3 kW, the subsidy is around ₹18,000 per kW.
- For systems larger than 3 kW, the total subsidy is usually capped around ₹78,000.
After applying these subsidies, the effective cost drops significantly. A small 1 kW solar plant that might cost ₹75,000 before subsidy could end up around ₹45,000 to ₹55,000 or even less in some places.
How Subsidies Apply in Practice
Subsidies are usually sent directly to your bank account or adjusted against the final bill through your electricity distribution company (DISCOM) once installation is complete and approved.
Note that subsidies apply mainly to grid-connected systems. Off-grid systems with batteries usually do not get the same subsidy amounts, so their cost stays higher.
Some states also have their own additional incentives. For example, various local schemes may offer extra financial support on top of the central subsidy.
Why This Matters
By reducing the initial cost of installation, subsidies make solar power much more attractive. They also shorten the time it takes to recover your investment through lower electricity bills. In many cases, a properly sized system can pay for itself in a few years just from the savings you make.